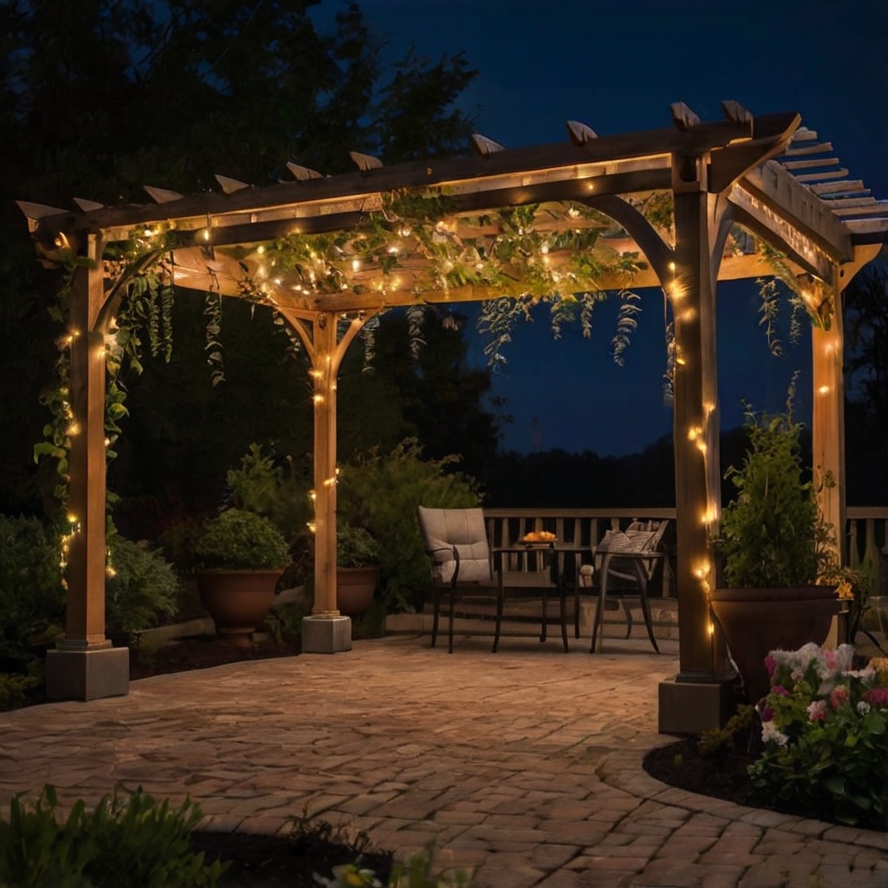
A pergola on its own is a charming addition—somewhere to relax, read a book, or enjoy a late evening breeze. But add electricity, and it becomes something else entirely: an outdoor room.
Lighting, heating, a place to plug in a speaker or charge your phone—suddenly the space is usable long after sunset.
Yet installing power safely isn’t as simple as running an extension cord from the nearest socket. It’s a job that needs planning, the right materials, and a strong respect for electrical safety.
Whether you’re building a new pergola or upgrading an old one, here’s a grounded guide on how to get the job done properly.
Step 1: Clarify What You Actually Need Power For
Before you think about cables or conduits, ask yourself: what exactly are you powering?
Start with a list. Maybe it’s just a few fairy lights and a charger for your laptop. Or perhaps you’re imagining something more ambitious—a ceiling fan, outdoor heater, dimmable downlights, or even a fridge for drinks.
This matters more than most people realize. A few low-wattage LED lights might only require a 10-amp circuit, while appliances like heaters or fridges demand more capacity and may need their own dedicated line.
Guessing here can lead to overloaded systems, tripped switches, and expensive fixes later.
Step 2: Don’t Go It Alone—Hire a Licensed Electrician
In most places, electrical work is legally restricted to licensed professionals—and for good reason. It’s not just a box-ticking exercise. “Cutting corners by taking the DIY route can have big consequences and is among the most common causes of electrical fires”, warns Mr Emergency. That’s not the kind of risk you want under your pergola roof.
According to Energy Safe Victoria, carrying out unlicensed electrical work is not only illegal, it’s one of the leading causes of avoidable household incidents. Even minor faults can be lethal.
So while you’re free to plan, dig trenches, and pick out light fittings yourself, the actual wiring must be handled by a licensed electrician. They’ll also be able to issue you with a Certificate of Electrical Safety, which is often required for insurance and resale purposes.
Step 3: Plan the Route from Your Home to the Pergola
Next, figure out how the power is going to travel. In most homes, the supply will come from the main switchboard or an outdoor power source nearby. From there, it needs a clear, protected path to the pergola.
There are generally two options:
- Above ground, using weatherproof conduit fixed to fencing or walls (less common but possible in some backyards).
- Underground, through a buried conduit. This is the more discreet and durable option, and the one most electricians recommend.
Mapping the route involves checking where utilities like water, gas, or storm water pipes might be. You don’t want your trench crossing over an existing service unless absolutely necessary.
Step 4: Trenching and Underground Conduit
If you go the underground route, you’ll need to dig a trench deep enough to meet safety standards. In most cases:
- A depth of 600 mm is required for underground cabling.
- Heavy-duty orange conduit must be used to encase the cable.
- A warning tape should be placed above the conduit but below the surface to alert future diggers.
You can dig this trench yourself to reduce costs, but make sure it’s straight, with minimal sharp bends, to make cable pulling easier.
Once that’s done, your electrician will run the cabling through the conduit and connect it back to the main board.
Step 5: Choose Fixtures Rated for Outdoor Use
Electrical components outside face challenges indoor ones don’t—moisture, insects, heat, and UV exposure all take their toll. For that reason, every component you install under your pergola must be specifically rated for outdoor use.
Here’s what to look for:
- IP ratings: Outdoor sockets and switches should be IP44 or higher. If your pergola is fully exposed to rain, look for IP65.
- LED or low-voltage lights: These are more efficient and produce less heat.
- Weatherproof casings: For any power points or light fittings.
Even if your pergola has a roof, don’t assume it’s dry enough for standard indoor fittings. A brief sideways storm or a summer humidity spike can cause long-term damage if components aren’t up to spec.
Step 6: Switches, Timers, and Smart Tech
Now comes the fun bit—deciding how you want to control your new power setup. Do you want a simple switch near the house, or one mounted to the pergola post? Do you want all your lights on at once, or separate switches for different zones?
Many homeowners are now choosing smart switches or Wi-Fi plugs to control outdoor lighting and devices from their phone. Others add motion sensors or timers to save energy and increase convenience.
It’s a good time to be future-proof. Running a single cable now but planning to split circuits later can mean double the work. So think about how you’ll use the space both now and a few years from now.
Step 7: Keep It Safe and Legal
After installation, your electrician should provide you with a Certificate of Electrical Safety, confirming that the work meets all current regulations. Don’t skip this step.
It’s not just paperwork—it could protect you in the event of an insurance claim, or help avoid legal issues if you ever sell your home.
Step 8: Add the Extras That Make It a Living Space
With electricity sorted, your pergola becomes a blank canvas.
You might:
- Hang string lights along the beams.
- Install a ceiling fan to push warm air down in winter or cool air around in summer.
- Plug in a portable heater or install fixed strip heating.
- Add Bluetooth speakers, TV screens, or even a mini-bar fridge.
It’s not just decoration—it’s function. And each of these elements becomes more useful when power is integrated cleanly and permanently.
Step 9: Save Energy Without Compromising Comfort
Outdoor electrical additions can quietly drive up your usage if left running. Lighting data indicates that lighting accounts for roughly 5–10% of a typical household’s electricity budget, largely thanks to LED adoption reducing costs and wastage.
If your pergola uses eight or ten bulbs regularly, switching them to LEDs and fitting timers or smart controls can trim running costs and carbon footprint significantly.
Powering Your Pergola The Right Way
Running power to your pergola isn’t just about lighting up the backyard—it’s about extending your home’s comfort into the outdoors.
Done properly, it adds value, function, and a new way to use the space year-round.
But it’s also a job that demands care. Respect the regulations, plan thoughtfully, and use only weatherproof, approved equipment. Most importantly, bring in a licensed electrician.
They’ll not only ensure the job is done safely, but that it lasts—through storms, summers, and many quiet evenings under the lights.