You’re picturing soft evening light under the pergola, but first you need wiring that’s safe, compliant, and built to survive Melbourne’s weather. Finding an electrician who understands outdoor structures can feel like decoding a fuse box, yet it doesn’t have to.
Resources such as https://www.thelocalelectrician.com.au/melbourne/ let you compare licensing details, specialties, and reviews before you invite anyone near your timber beams for peace of mind during long summer nights.
Evaluate Outdoor Power Needs
Before calling any pro, spend a morning listing everything that will plug in beneath the pergola—string lights, fans, heaters, speakers, perhaps a mini-fridge and a Wi-Fi extender.
Map existing circuits
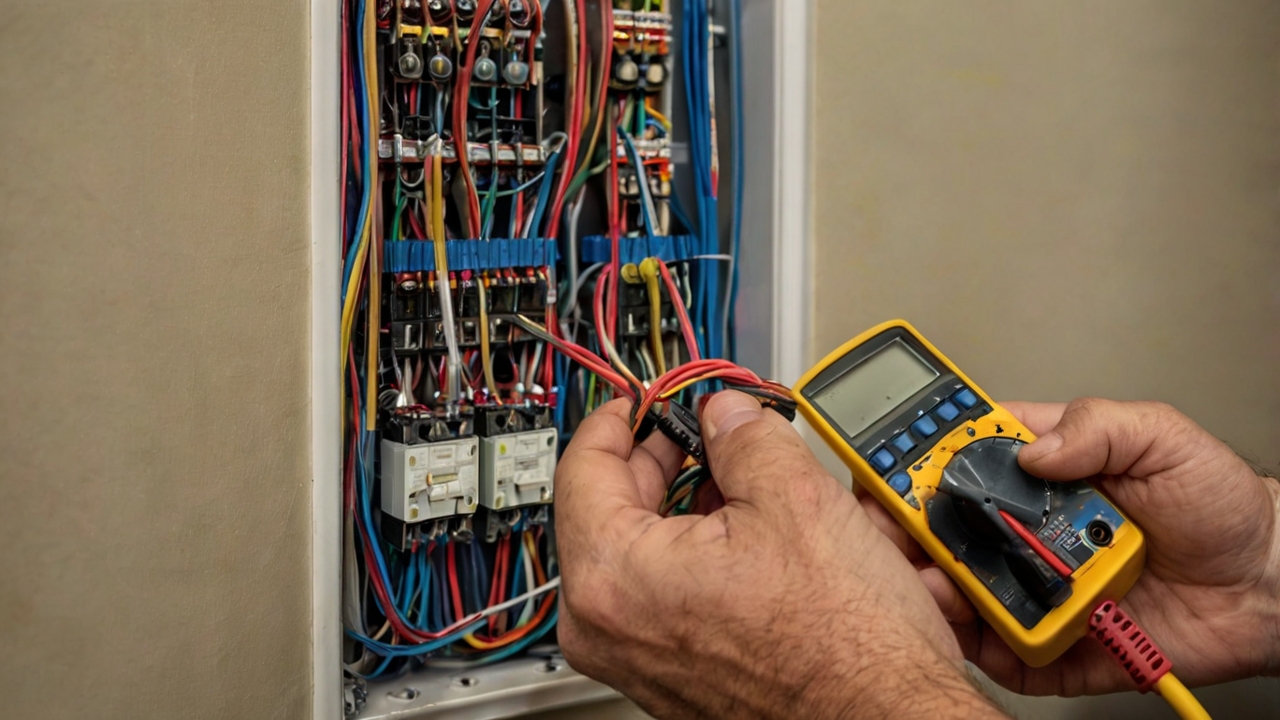
Locate the main panel, identify spare breakers, and note amperage. This detective work tells an electrician whether new wiring or a sub-panel becomes essential for safe capacity.
Measure load requirements
Add the wattage of each planned appliance, convert to amps, and compare the total with the outdoor circuit rating. Overshooting the limit risks tripped breakers and melted insulation.
Plan for future gadgets
Tastes change—today’s Edison bulbs could become tomorrow’s infrared heaters. Build a 25 percent headroom cushion so expansion won’t require another costly service call next season.
Identify conduit routes
Sketch paths along posts, joists, and trenches to the house. Clear routing ideas help the electrician estimate materials quickly and avoid ugly surface cables later.
Factor in smart controls
If dimmers, timers, or voice-activated hubs are on the wish list, mention them now. Low-voltage data cables may need their own conduit beside regular power lines.
Confirm Code Compliance
Outdoor wiring follows stricter rules than interior runs, and inspectors know every clause. Keep the project stress-free by insisting on documented compliance from day one.
- Verify licensing early. Ask for the electrician’s state license number and expiration date; a quick database search prevents unqualified installers from touching your home.
- Request proof of insurance. General liability plus workers’ compensation shields you from surprise bills if someone gets hurt or property is damaged.
- Demand permit pulling. A reputable contractor handles city paperwork; doing so signals confidence that all work will pass inspection the first time.
- Ask about GFCI locations. Code mandates ground-fault protection for exterior outlets. Confirm where the device will sit and how it will be labeled.
- Schedule interim inspections. Rough-in checks catch hidden mistakes before boards and pavers conceal them, saving future demolition costs.
Following these steps ensures the finished pergola meets NEC standards, satisfies homeowners-insurance clauses, and keeps hungry squirrels, moisture, and curious kids perfectly safe.
Shortlist Certified Electricians
With requirements documented, start building a candidate list rather than calling the first number on a yard sign. Quality pros welcome comparison shopping and transparent vetting.
Leverage review platforms
Filter results on Angi’s directory by outdoor-living projects, star ratings, and response times. Consistent five-star feedback on patio jobs usually translates to pergola expertise.
Tap neighborhood referrals
Post in community social media groups or chat during evening dog walks. Homeowners love bragging about tradespeople who showed up on time and left zero sawdust behind.
Compare detailed quotes
A solid estimate lists labor hours, wire gauges, fixture models, and disposal fees. Apples-to-apples comparisons spotlight low-ball bids hiding change-order surprises later.
Evaluate communication style
Note how quickly calls are returned, how clearly jargon is explained, and whether questions feel welcomed. Good communicators tend to produce better workmanship, too.
Check scheduling flexibility
Outdoor builds rely on weather; an electrician able to juggle rain delays without penalties keeps the overall construction timeline from spiraling.
Verify Master Credentials
Credentials separate seasoned experts from weekend handymen. Master electricians invest thousands of hours in apprenticeships and exams, bringing deep troubleshooting skills to tricky outdoor scenarios.
- Confirm master status. Ask to see the state-issued master card; journeyman or apprentice levels may not legally design new circuits without supervision.
- Inspect continuing education. Code cycles update every three years, so look for recent coursework certificates ensuring familiarity with the latest NEC outdoor rules.
- Request specialty certifications. Low-voltage lighting, solar tie-ins, or generator hookups indicate broader knowledge that can future-proof your backyard escape.
- Call past pergola clients. References who installed similar structures offer candid insights about punctuality, cleanliness, and after-install support.
- Review BBB standing. Zero unresolved complaints at the Better Business Bureau reassures that disagreements get handled professionally, not ghosted.
A master’s paperwork paired with glowing references virtually guarantees workmanship that withstands rainstorms, heatwaves, and home inspections alike.
Discuss Sub-Panel Placement
Running every new circuit back to the main panel wastes copper and clutters service space. A small sub-panel near the pergola simplifies maintenance and future add-ons.
- Select a sheltered spot. Mount the enclosure under the deck stair or inside a waterproof cabinet to protect breakers from sprinkler over spray and direct sun.
- Mind clearance rules. NEC demands 30 inches wide and 36 inches deep of working space; measuring now avoids awkward relocations after framing finishes.
- Plan conduit entry. Knockouts should face downward or sideways to discourage rain intrusion, with sweeps large enough for easy wire pulling later.
- Balance loads smartly. Keep lighting and receptacle circuits on opposite phases to reduce flicker when high-draw appliances kick on.
- Label for inspectors. Clear engravings—“Pergola Lights,” “Fan,” “Heater”—speed final approval and help weekend guests find the right breaker fast.
A well-positioned sub-panel reduces voltage drop, slashes trenching labor, and lets future tech upgrades plug in without rewiring the entire backyard.
Plan Fan Mounting
Ceiling fans tame summer heat and shoo mosquitoes, but outdoor mounting challenges differ from living-room installs. Proper bracing and damp-rated equipment preserve safety and longevity.
Select UL-wet fixtures
Outdoor fans carry sealed motors and stainless hardware. Anything labeled “damp only” corrodes quickly when fog or sideways rain reaches the pergola’s center.
Secure structural blocking
Add 2×6 cross-bracing between rafters before the electrician arrives. Solid backing prevents wobble and eliminates the need for ugly surface-mount boxes later.
Use fan-rated boxes
The electrician will bolt a metal pancake or saddle box stamped with “70 lb fan support.” Standard plastic boxes crack under constant vibration and void warranties.
Coordinate install timing
Schedule wiring rough-in before roofing slats go on, pull switch legs, then return after finishing work for final hanging. This two-stage rhythm saves ladder gymnastics.
Consider pro installation
If DIY ambitions fade, book the Home Depot fan service. Fixed pricing and insured technicians protect both wallet and fingers from unexpected mishaps.
Review Lighting Layout
A thoughtful lighting plan elevates the pergola from patio to paradise, balancing ambience with security and code-mandated illumination on steps and pathways.
- Layer task and accent. Pair dimmable overhead LEDs with warm-white rope lights tucked along beams to create depth without glare.
- Maintain fixture spacing. Evenly distribute lights every six feet to avoid dark pockets where guests might trip when cocktails flow.
- Integrate smart controls. Wi-Fi switches allow scene presets—dinner, movie night, cleanup—accessible from the hammock via smartphone.
- Respect dark-sky guidelines. Choose downward-facing shades and 2700 K bulbs to minimize light pollution and keep neighbors happy.
- Test night views. Temporarily hang lights with zip ties, power them at dusk, and tweak angles until faces glow while stars remain visible.
Finishing the layout exercise before trenching ensures conduit stubs emerge exactly where fixtures land, sparing endless extension cord compromises later.
Final Safety Inspection
After the last screw tightens, never skip an independent inspection. A fresh set of trained eyes verifies every connection, breaker, and label meets mandate and common sense.
Book a certified inspector
Many municipalities let you choose between city staff and private firms. Faster scheduling with a third-party inspector can shave weeks off project completion.
Provide full documentation
Gather permits, load calculations, product datasheets, and photos of concealed wiring. Comprehensive packets help inspectors approve work swiftly without follow-up visits.
Perform functional tests
Walk through GFCI trips, lighting scenes, and fan speeds alongside the inspector. Demonstrations prove safe operation and teach household members breaker locations.
Request written report
A signed pass letter satisfies insurance requirements and boosts resale value by showcasing professional craftsmanship in a permanent record.
Celebrate responsibly
With green tags achieved, pour lemonade, power up the fairy lights, and toast a pergola wired to weather storms and dazzle guests for decades.
Power Wrap-Up
You’ve mapped loads, checked codes, and vetted credentials; now execution hinges on disciplined follow-through. Confirm every conduit run, breaker rating, and fixture mount before energizing circuits.